As fall approached in my first full year of garment sewing, I began to feel as if the things I was making weren’t working well together, and a bit more planning was called for. Then I read Sew Altered Style‘s blog post about her Seasonal Sew 3 challenge. The challenge: “Each season, choose 3 patterns that you want to make that season and then commit to making them over a 3-month period.” The example she gives is a small capsule set — pants, shirt, topper. I had just finished making a pajama set — top, pants, kimono/robe — and was really jazzed about how they coordinated, so I decided to try another set. This time it would be a skirt, cardigan and collared blouse.
I started with New Look 6106, a simple a-line skirt with a curved waist-band, that I bought when I first started sewing, but hadn’t made yet. I started with View A, without the ribbon at the waist.
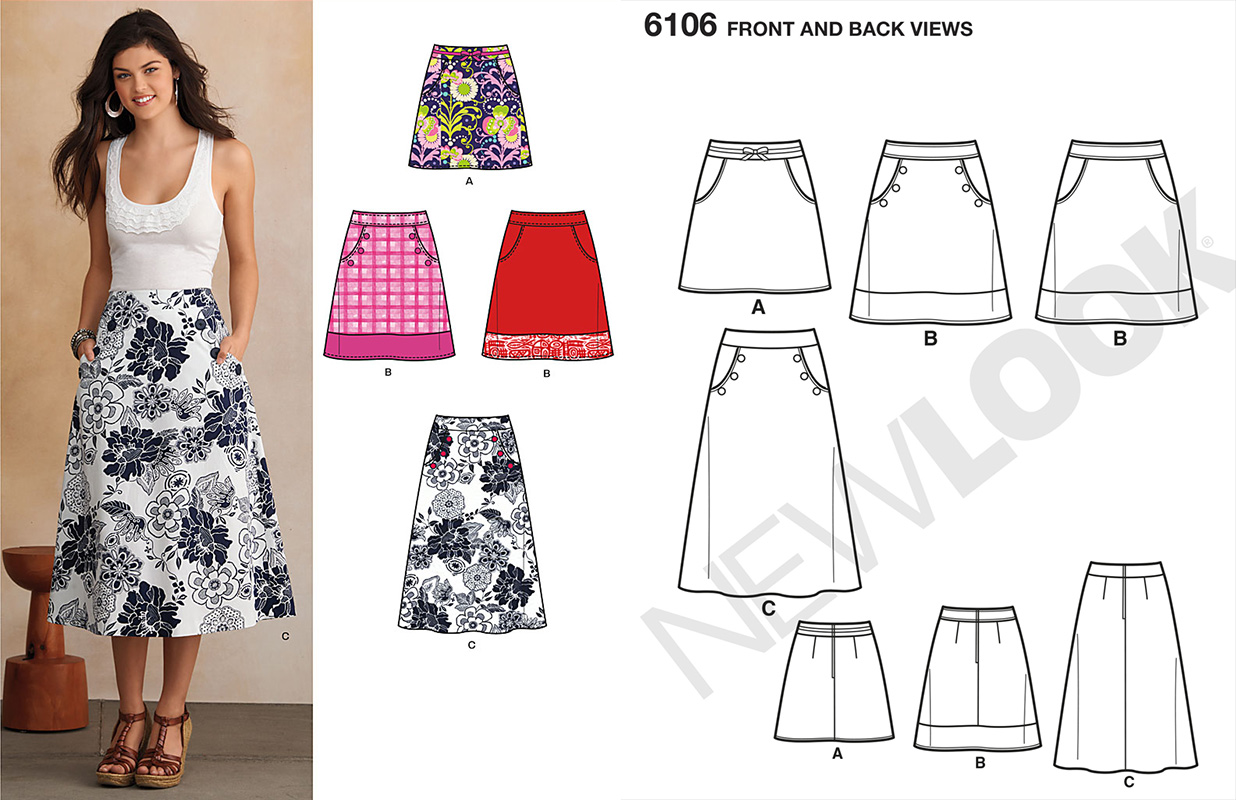
I made a trial version from Eco Twill in Sweet Potato from the Confident Stitch. Eco Twill is “a midweight (7 oz.) fabric made from 65% recycled polyester and 35% organic cotton. The polyester comes from Polyethylene Terephthalate (PET) bottles used for drinking and soda packaging.”
It fit pretty much out of the package, with the following changes
- Cut a 12 at the waist, grading to a 14 at the hips
- Used an invisible zipper instead of a lapped zipper, using this tutorial by Kenneth King
- After sewing it up, the ease in the hips and width at the bottom was way too much, so I took 6 inches off the circumference at the bottom, tapering to nothing at the bottom of the pocket opening.
And I was pleasantly surprised that it went with several things I already had in my closet. And with 52″ fabric, it only uses a yard if you make the facing and pocket lining out of scraps.
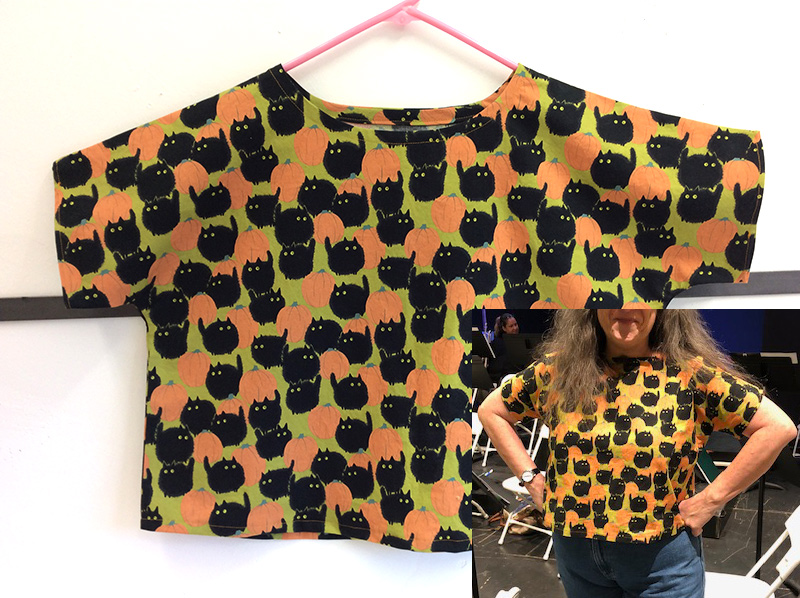
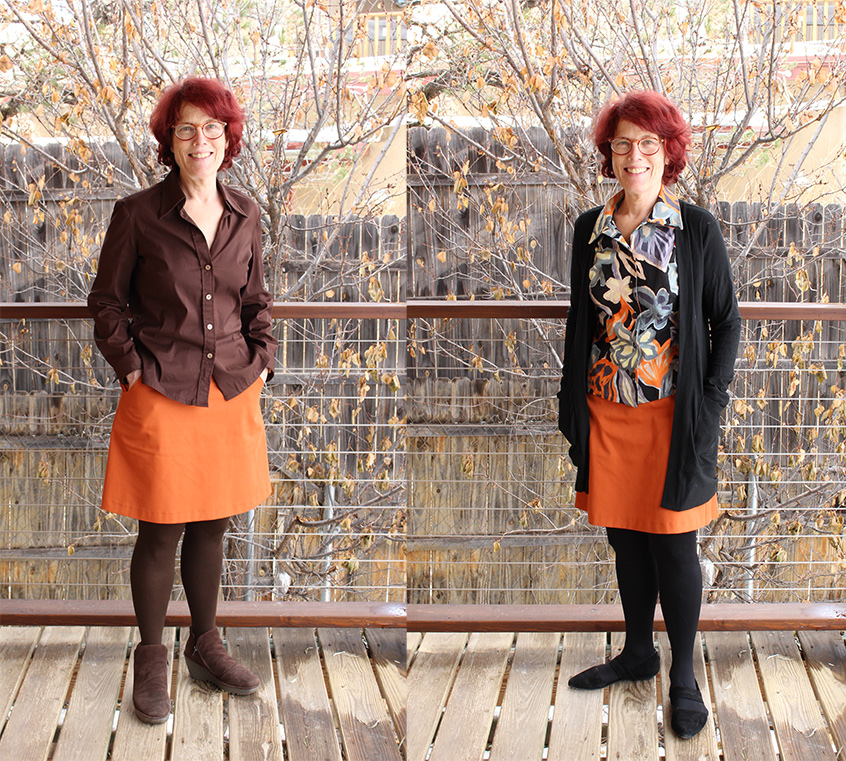 On the left, with a ready-to-wear shirt. On the right, with 2 me-mades: blackwood cardigan and sleeveless button up s2215
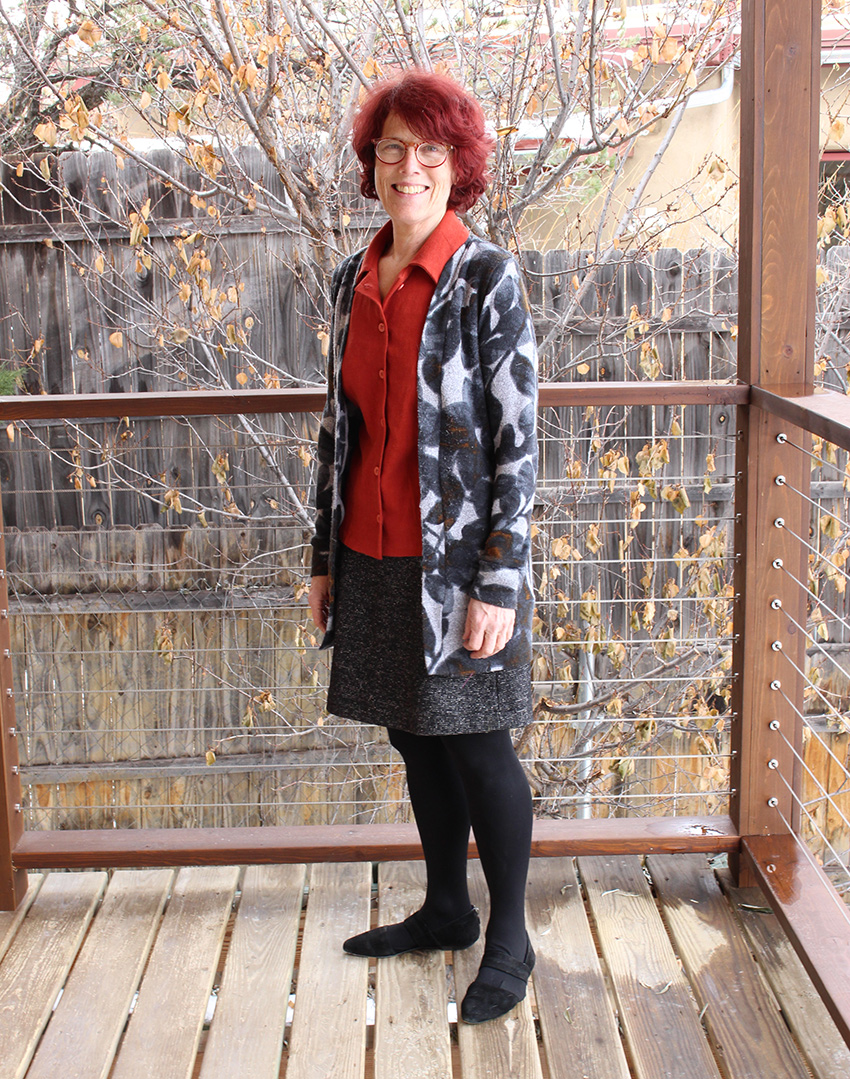
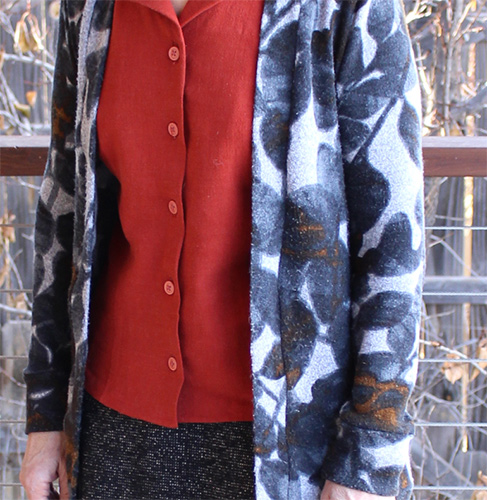
Next up I made the skirt for my seasonal sew 3 — from a wool blend from Style Maker Fabric. This time I drafted a lining, so it wouldn’t, like the sweet potato version, stick to my tights. The lining is a static-free one I got at Joann. Below on the right is my seasonal sew 3 outfit — skirt, blackwood cardigan in a sweater knit from Marcy Tilton and another s2215 made from mora slub linen from Stone Mountain Fabric.
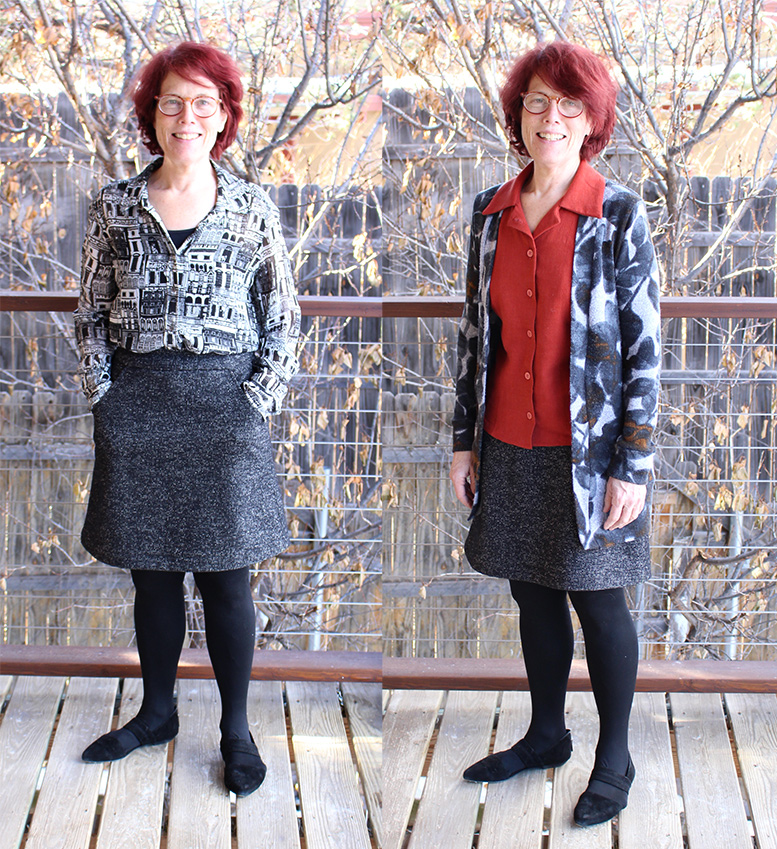 Left: with my favorite ready-to-wear silk shirt, Right: seasonal sew 3 capsule
I was really happy with the rust color match between the blouse and sweater for my seasonal sew 3. Unfortunately, the sweater knit catches on everything and has gotten quite pilly. I’ve de-pilled it a few times since I made it in November, and I’m not sure it will last very long.
But I wasn’t done with the skirt pattern quite yet. I had just-large-enough piece of cone mills denim to make a 3rd version. This time I made it a little extra by
- cuting the pocket opening straight across rather than curved
- adding piping, made from a piece of leatherette from my stash, to the bottom of the waist band and top of the pockets
- installing my first ever exposed zipper
- making a welt buttonhole on the back waist band using the leatherette.
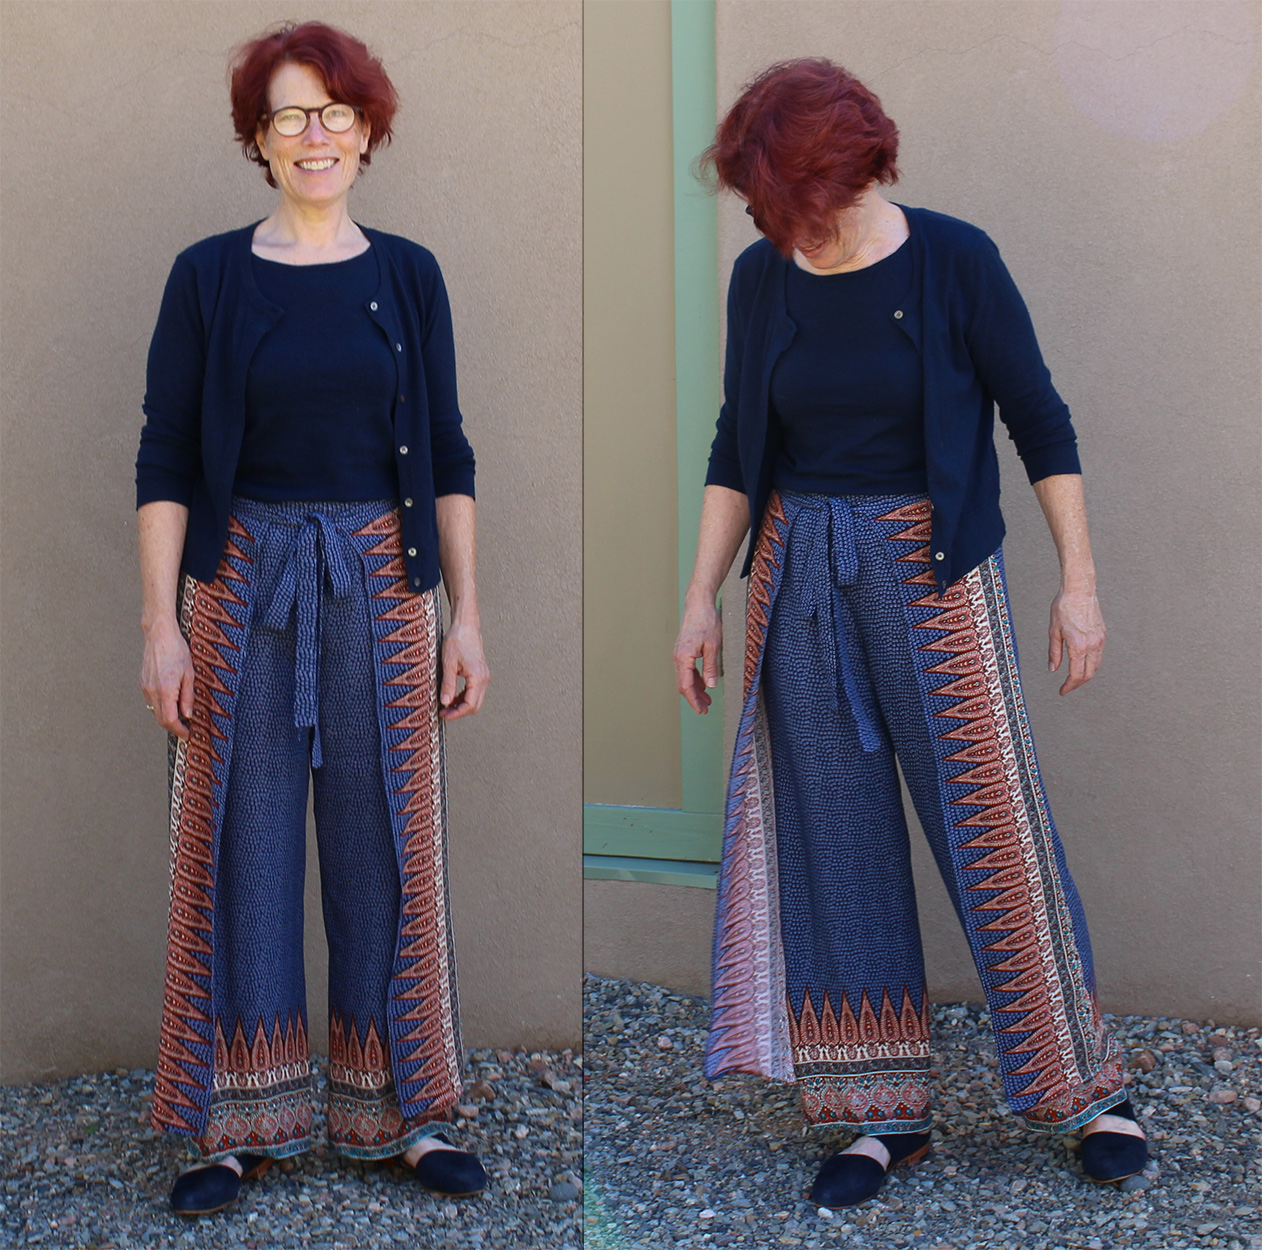
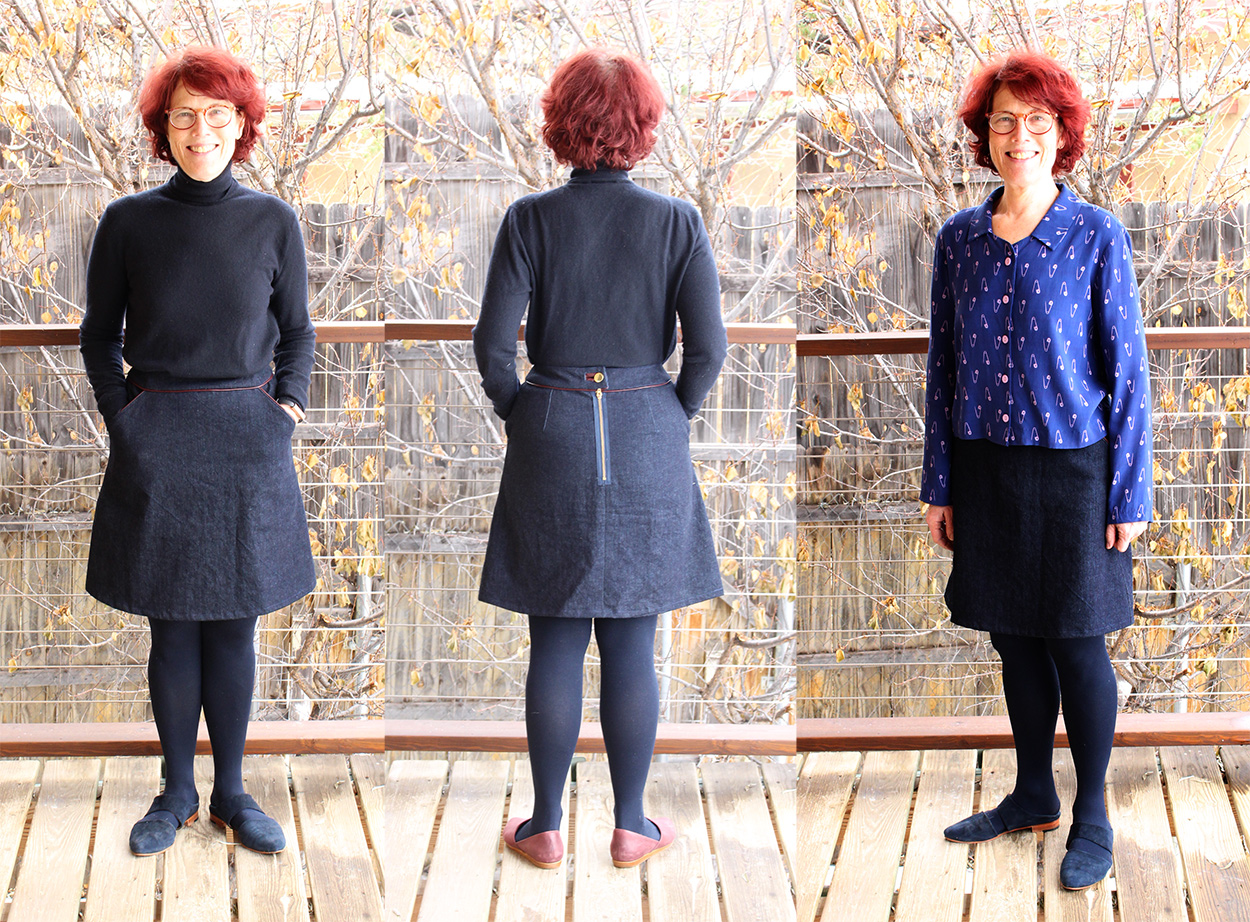 Left: dressed like a crayon, Middle: back with exposed zipper and welt button hole, Right: the top is a hacked Carolyn Pajamas top made from the nicest behaving rayon challis from Workroom Social.
And last, the one I’ve worn the most, a couple of times a week. I saw this patchwork denim at Joann and couldn’t resist (plus I had a coupon). I see Style Maker Fabric has it too. This one doesn’t have pockets.
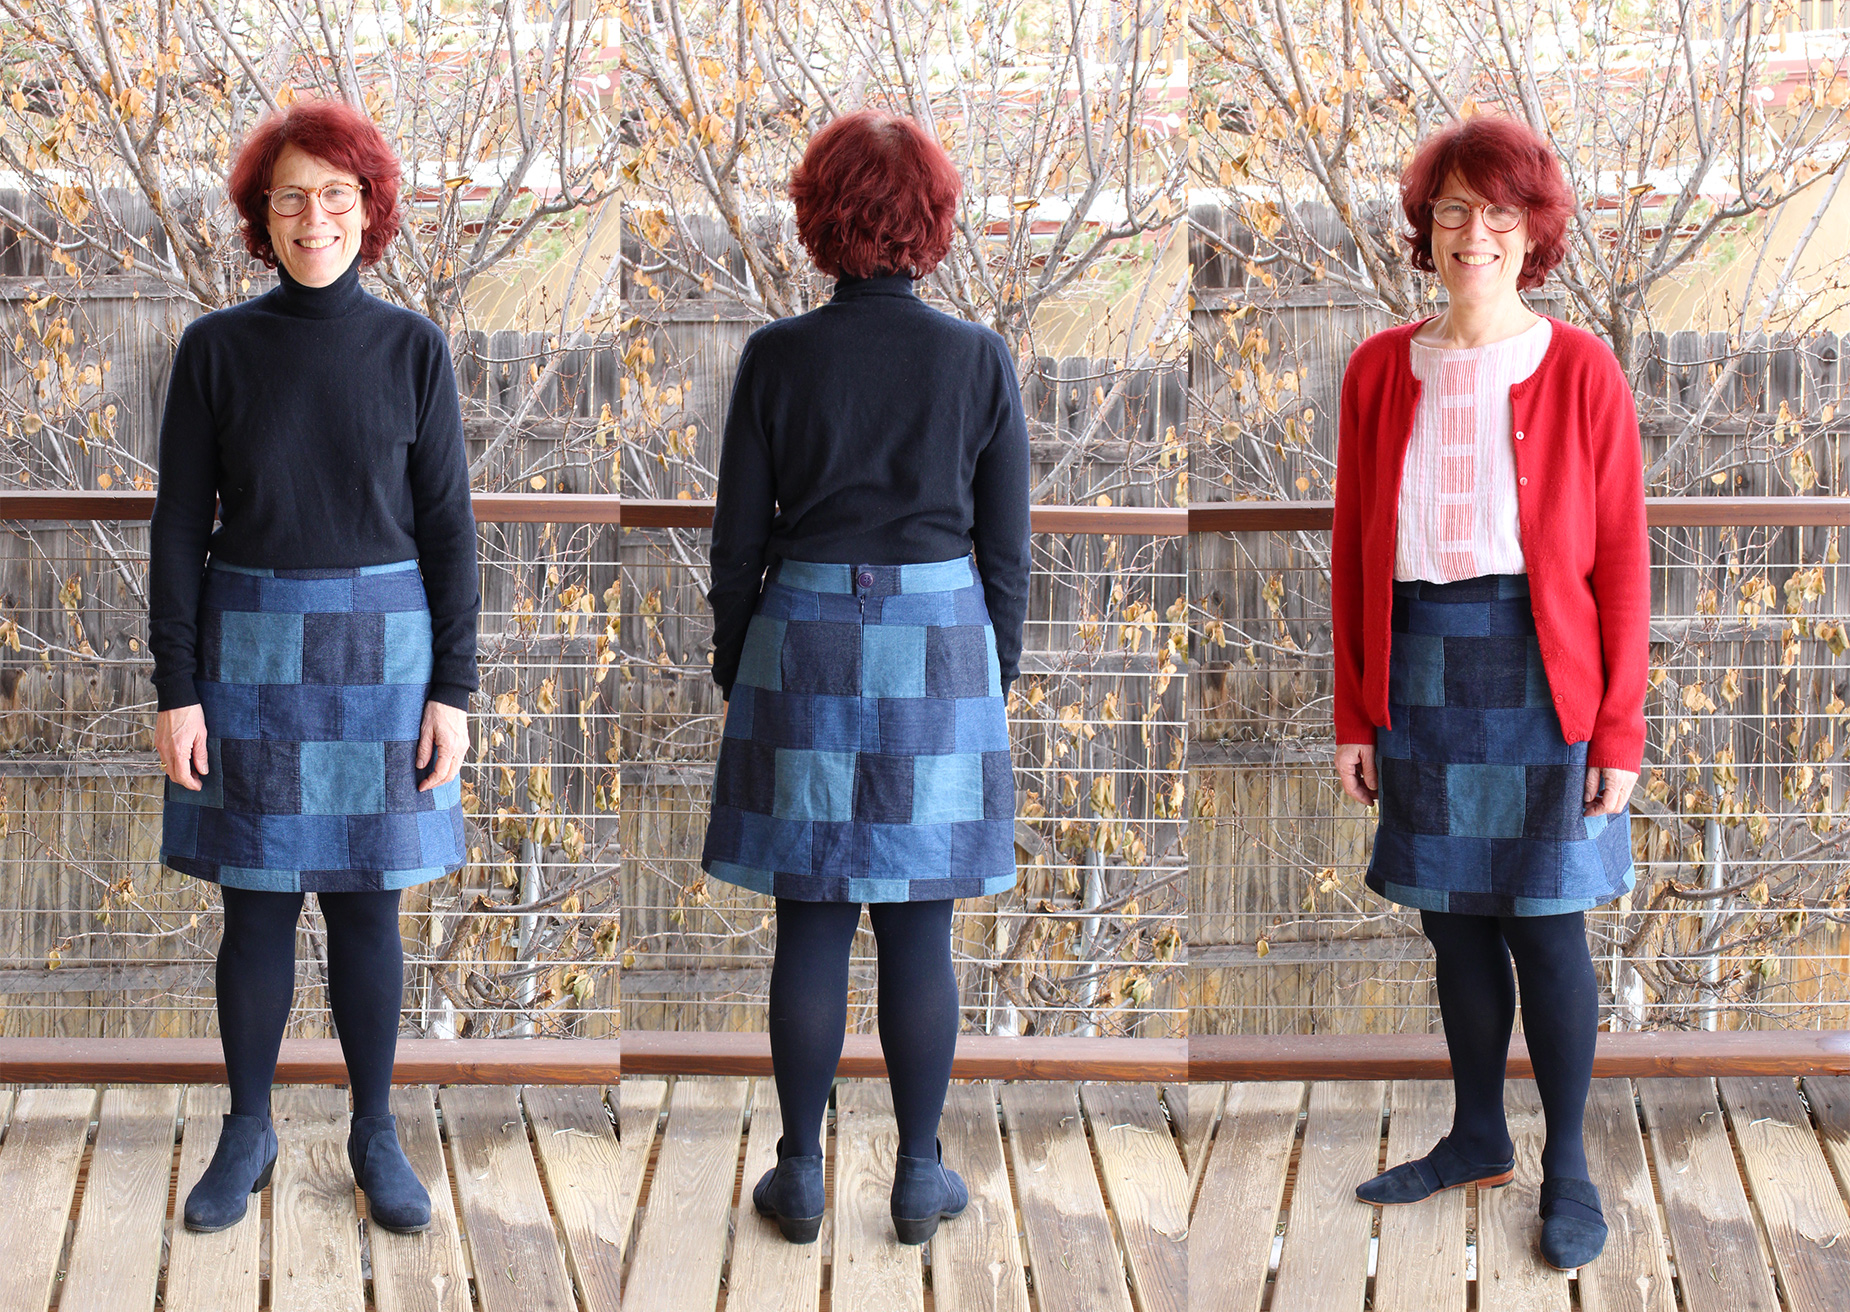 Left, dressed like a crayon again, Middle: I had fun planning the pattern-matching on the stripes created by the patchwork, Right: the top is a Maya top made from a dress that fell apart, and with a ready-to-wear cardi.

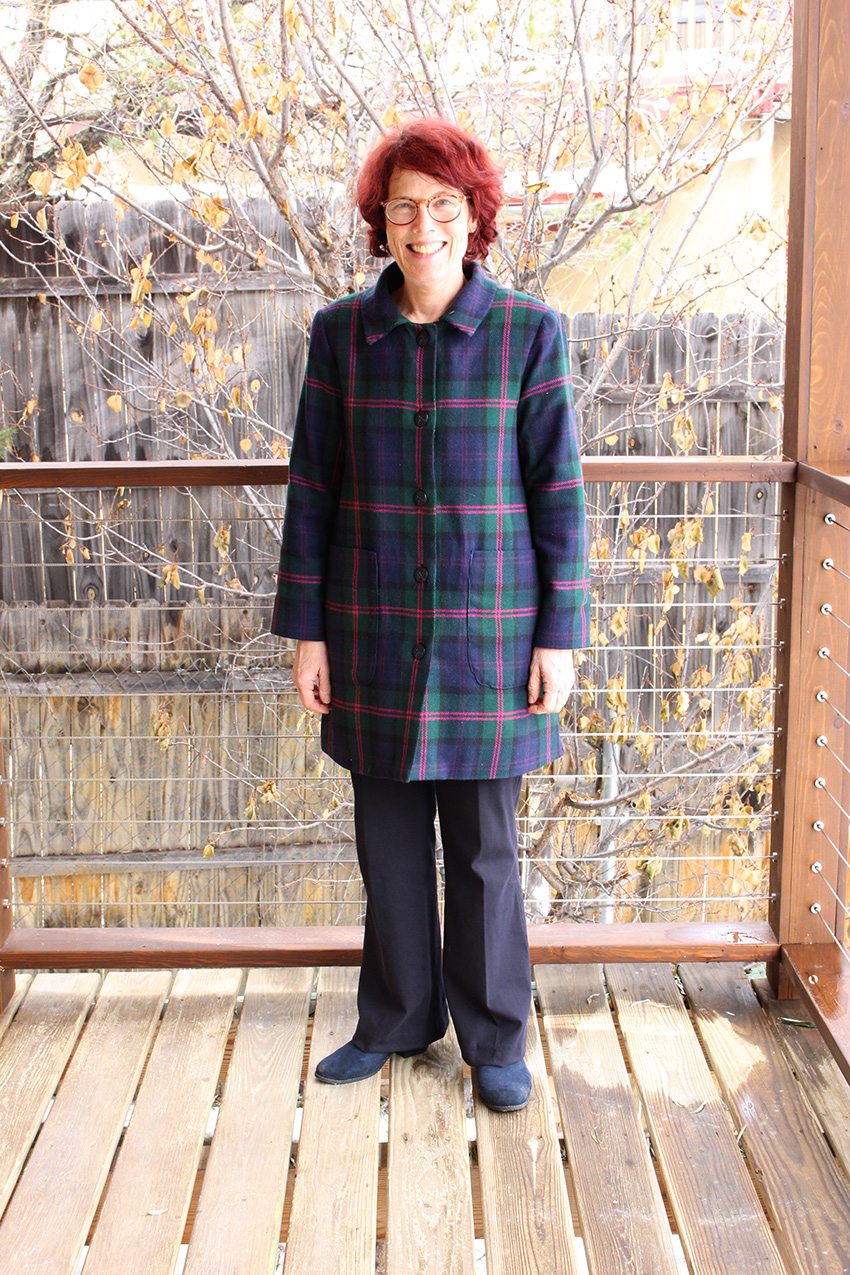
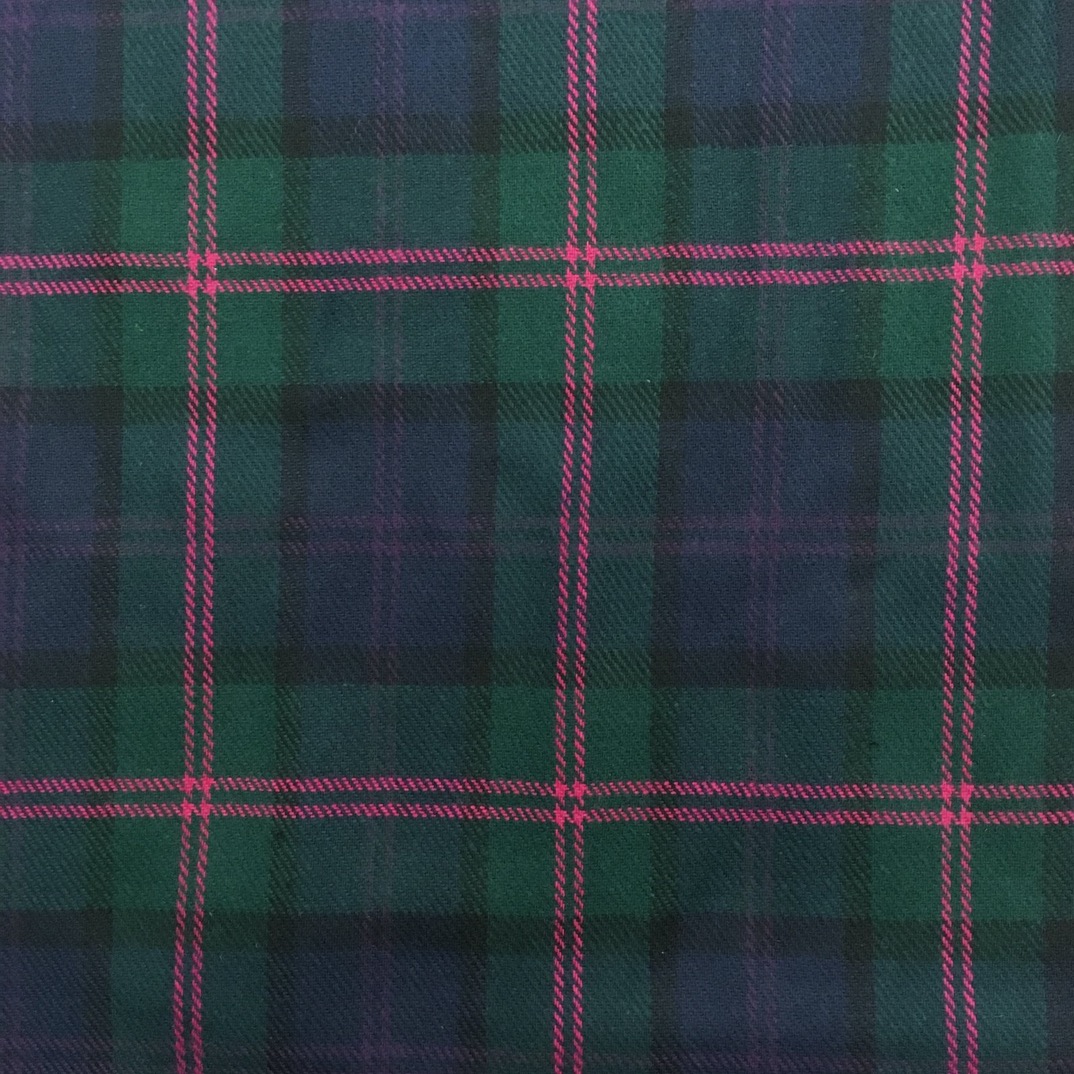
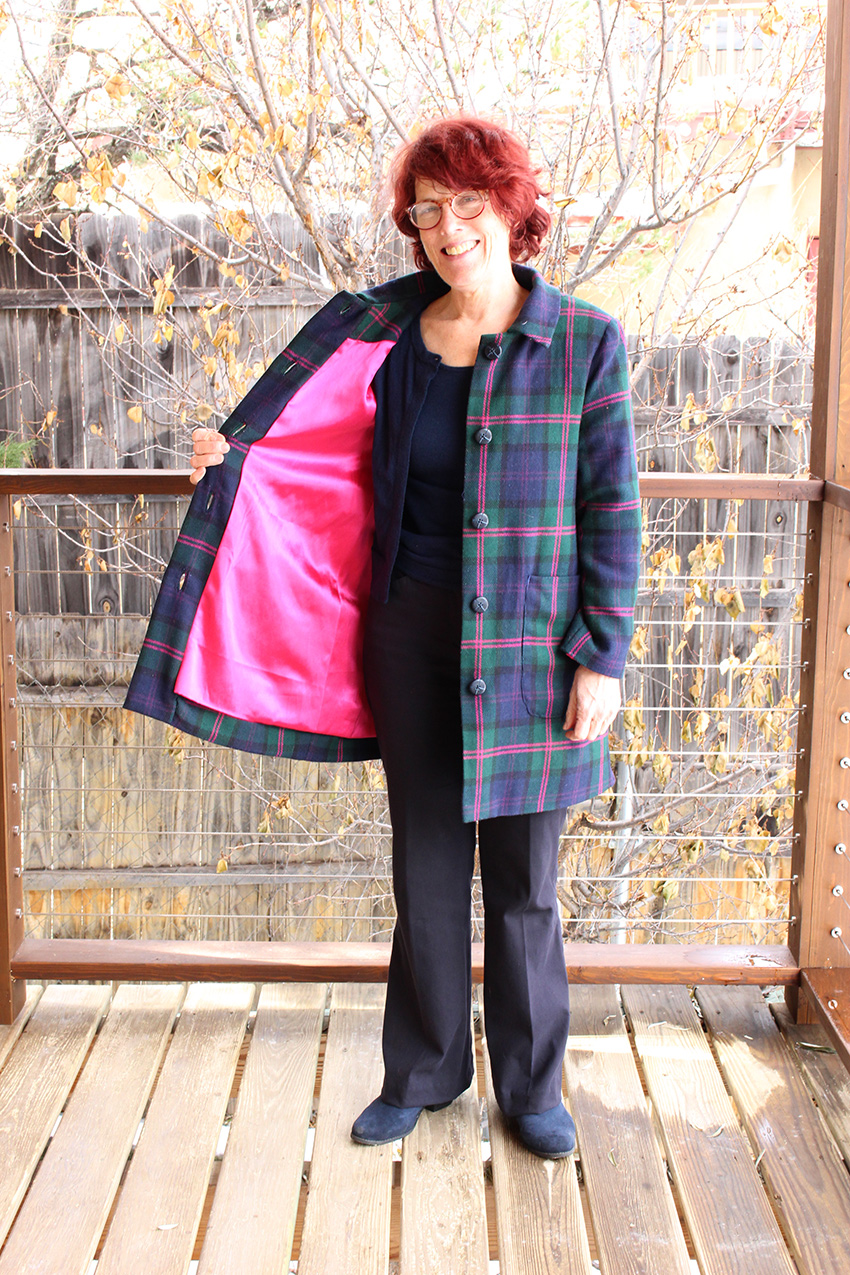 Sunback lining in very bright fuchsia
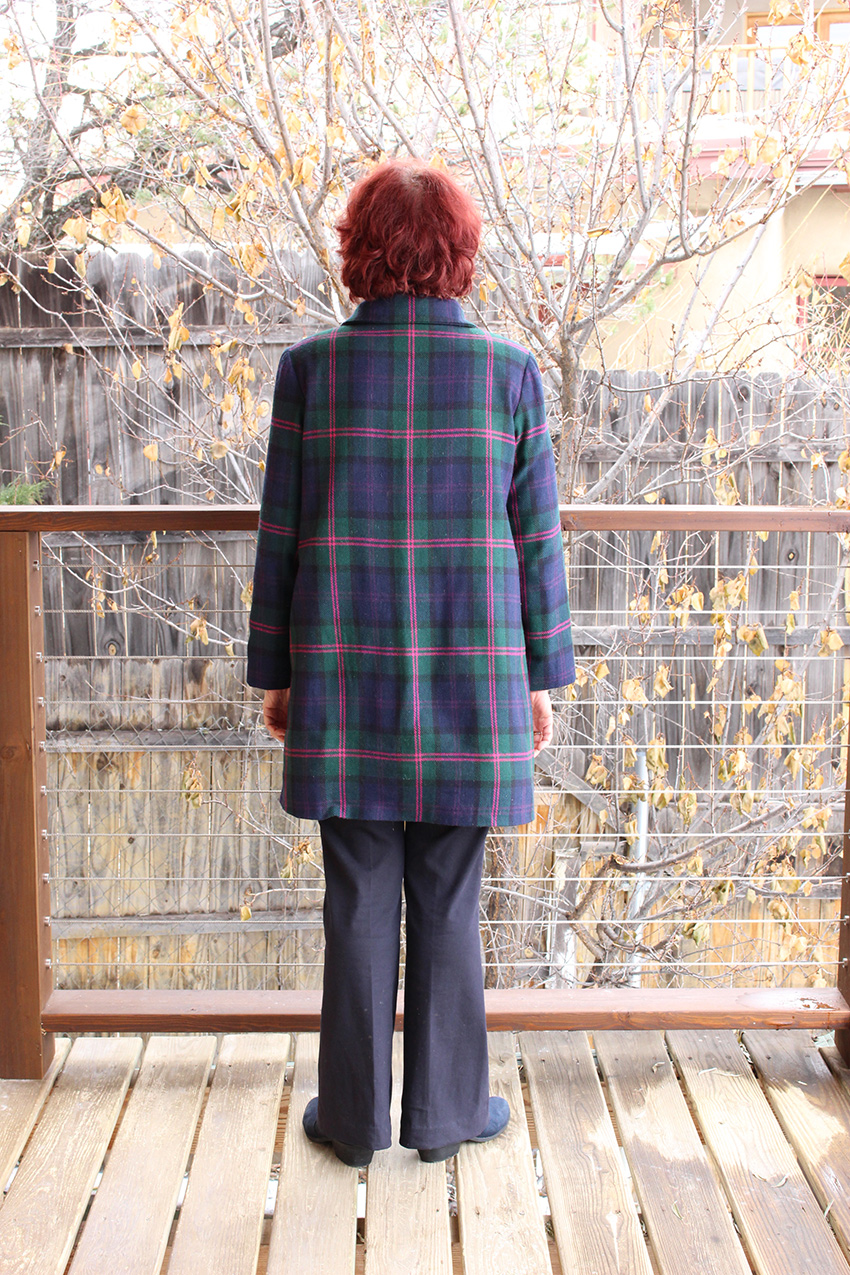 Back of the coat
 Pocket detail — opens from either the top or side