Back in March, Lori posted about the Burda wrap blouse she’d made:

I liked the edge detail and added it to my sewing queue for this summer. But when it got to the top of the list, I decided I didn’t like the angled edge, and wanted something rounder.
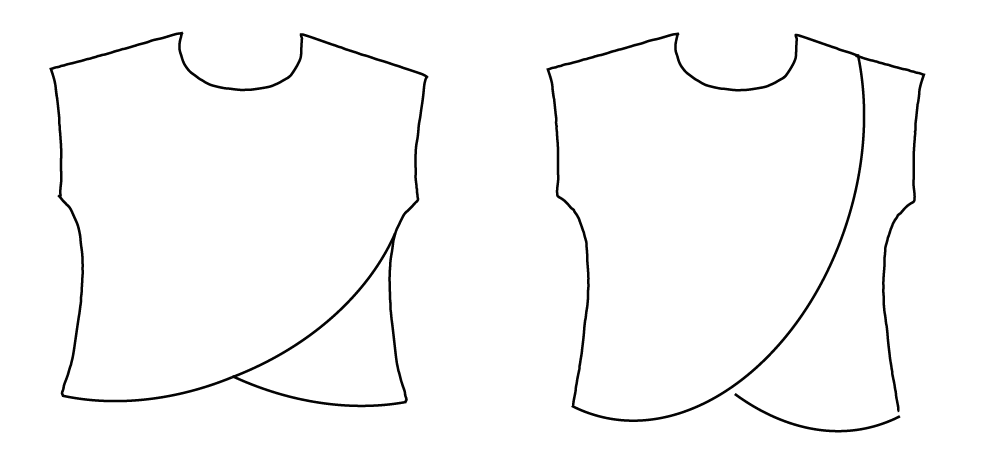
Asking Google, I got 2 different designs: The rounded tulip hem starts either under the arm or at the shoulder. And sometimes the tulip is the front and sometimes in the back.
I quickly found a Grainline Scout Tee hack with a tulip hem starting at the shoulder by Laglov. And another by Katie of What Katie Sews with the hem starting at the bottom of the arm hole.
I’ve made several scout tees and have had some fitting problems with them. I’ve had better fitting luck with Marilla Walker’s Maya top pattern, so I decided to use that as my base pattern. And I like the hem coming from the shoulder rather than the arm hole. I also thought it might be interesting to make the top reversible, so I can wear the tulip hem in either the front or the back.
To make the top reversible, I used the front pattern piece for the back of the blouse (the front and the back pattern pieces are the same except for the neckline). For the front, I cut 2 pieces that would overlap when sewn:
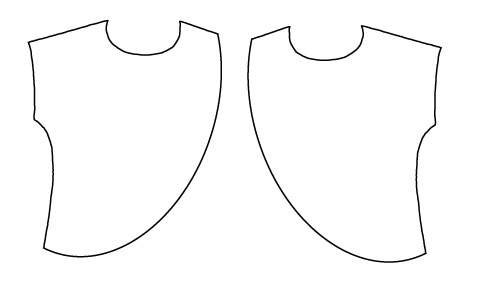
Drawing the hem curve was a bit tricky as my french curve ruler isn’t long enough — I did it free-style and smoothed it out with my ruler. My ruler is almost long enough to draw the under-the-arm-hole hem, so that would have been an easier hack.
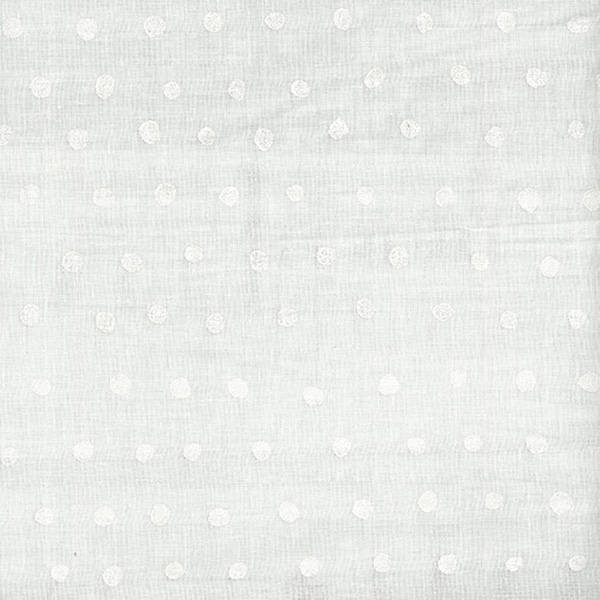
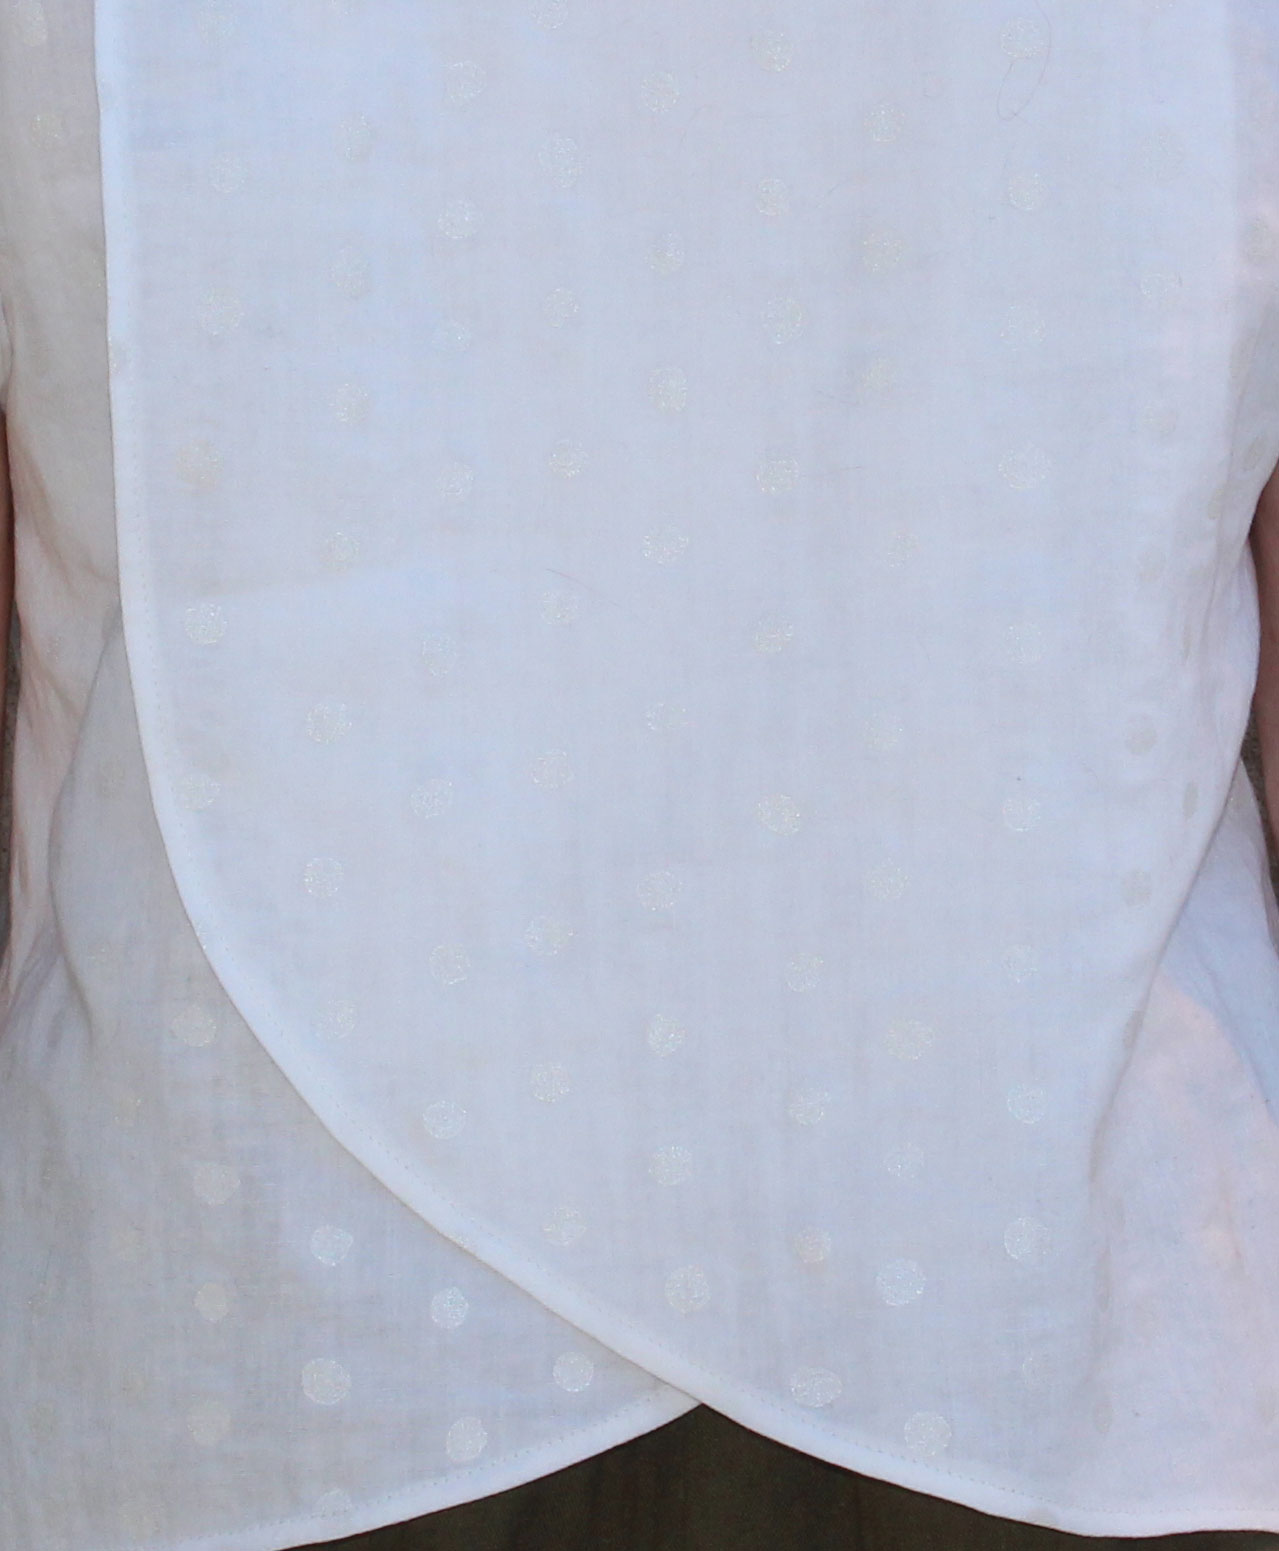
I made a muslin, because I wasn’t very sure about my curve, especially the start point on the shoulder. I also wanted to see if the top worked if I wore it backwards (it did!). I made some changes to the curve and the start point and then went on to the next issue: how to sew the curved hem. The fabric I choose is a white Nani Iro double gauze with painted-on metallic dots ( from Stone Mountain & Daughter Fabrics.)
I wanted a 1/4″ hem if possible. After failing with several different methods — self-made bias tape (too thick), double fold using the narrow rolled hem attachment on my sewing machine (couldn’t get a smooth edge on the curve), hand-sewn narrow rolled hem (I really wanted machine top stitching along the edge) — I remembered my roll of white Hug Snug. It’s a thin, 5/8″ wide, rayon seam binding and to my delight it’s the same color and sheen as the metallic dots in the fabric. (Well, no one will see it, but I’ll know!)
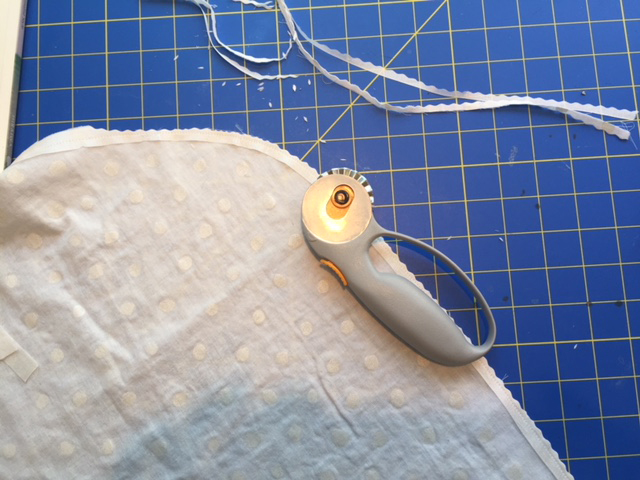
I attached it like bias tape — sewing to the right side of the fabric with a 3/8″ seam, clipping the curve as close to the stitching as possible with my pinking bladed rotary cutter (much easier on my hands than pinking shears), turning & pressing the hug snug to the wrong side, then stitching down from the right side. The hug snug presses really well!
Now I thought I had all hard bits solved and was ready to sew! I basted the 2 front pieces together at the shoulder and neckline, and then sewed the top up as if the front was one piece. I liked my hug snug hem so much that I did the back hem, sleeves and neckline the same way.
And here it is:
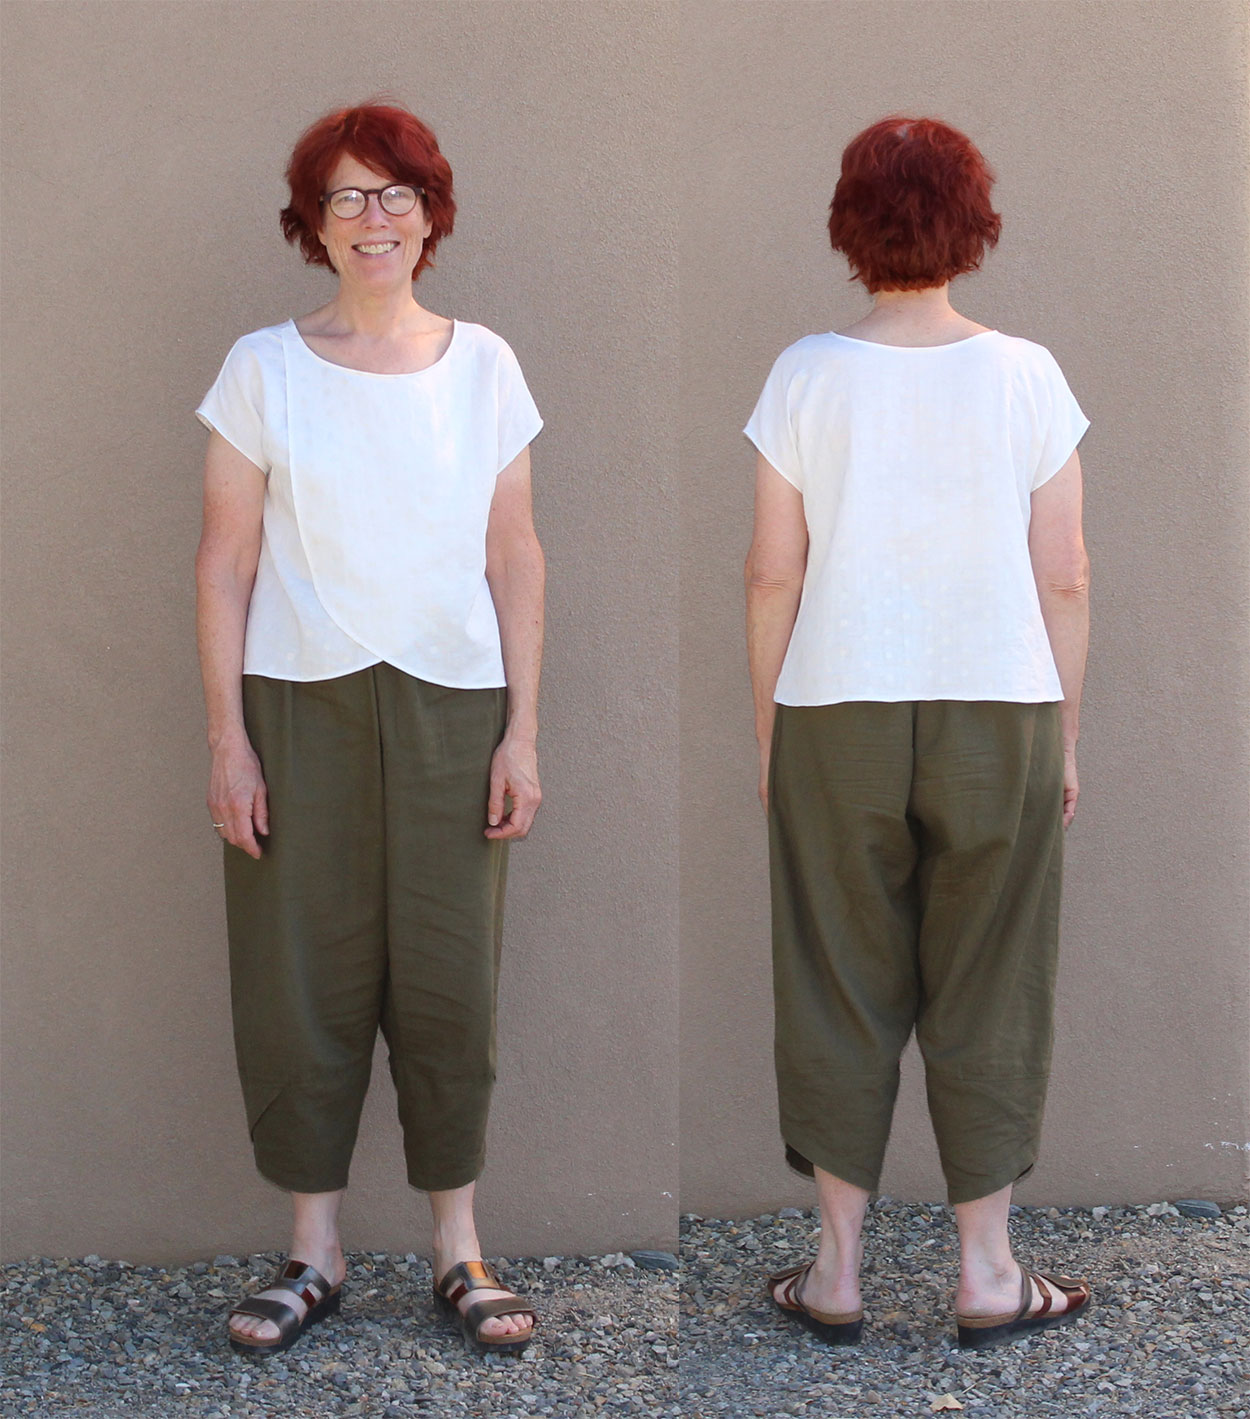
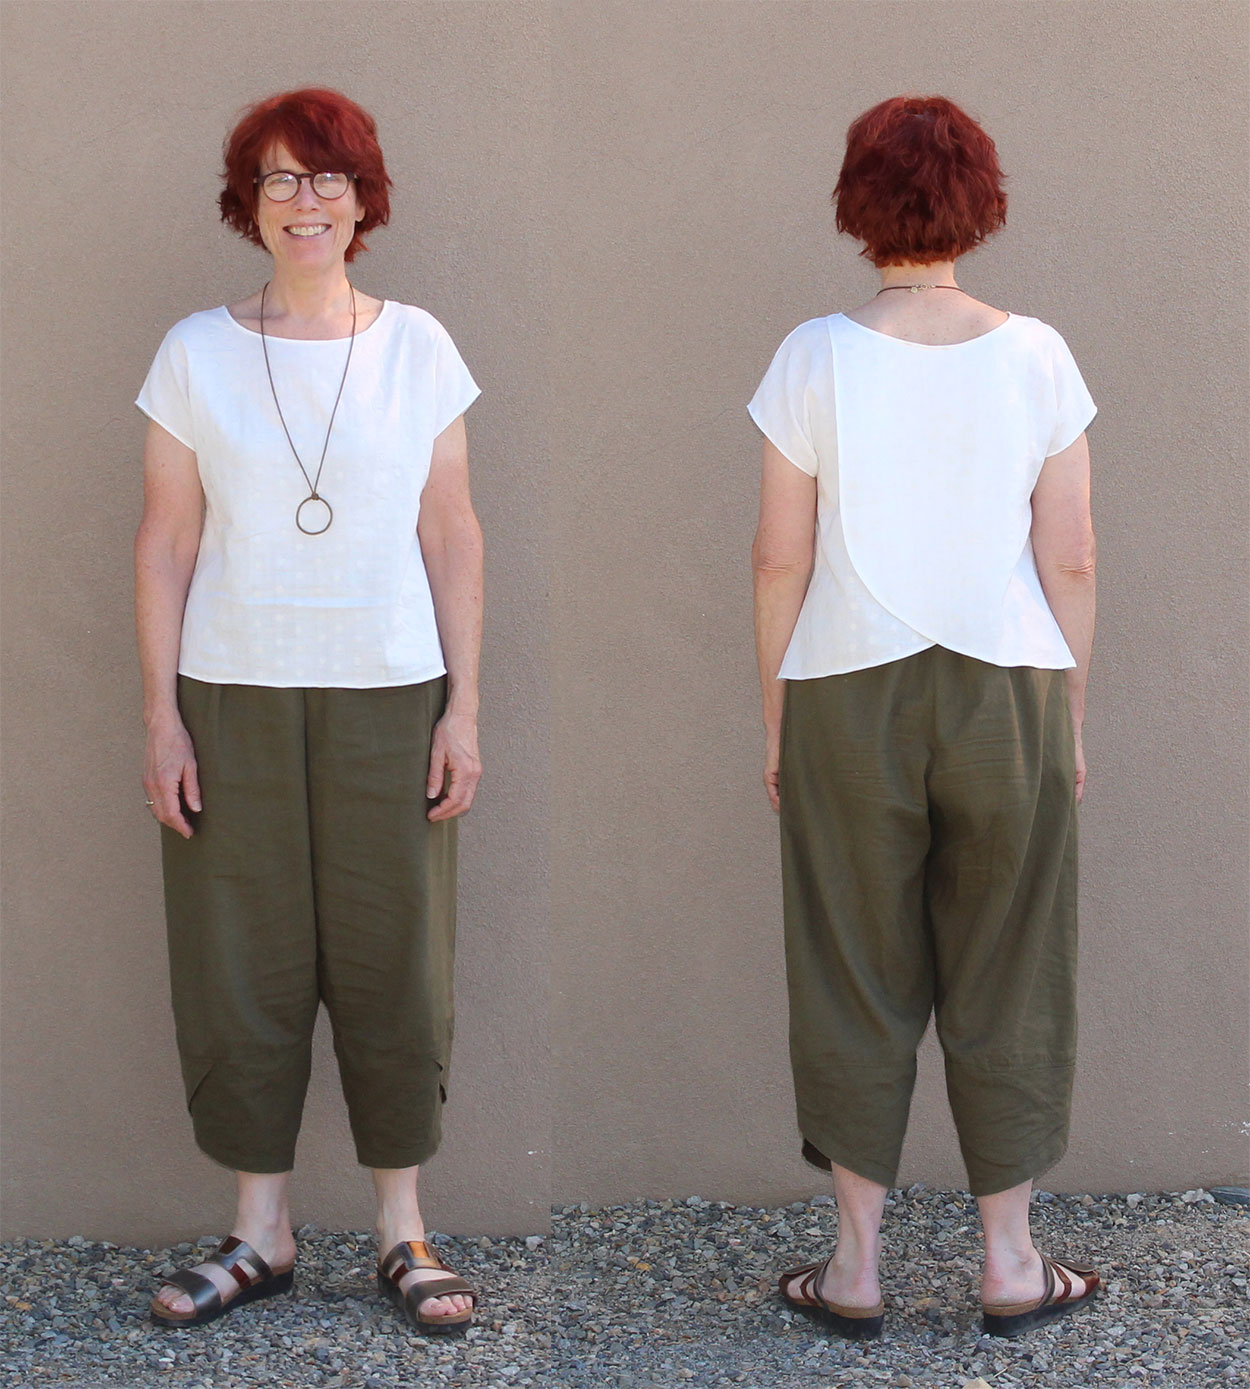
After wearing the top, I see that the weight of the tulip hem side pulls it down a bit, so it’s good I made a deeper neckline for the back (or front if worn reversed). I don’t have a white short sleeve top for summer, so this fills a hole in my closet!
Thanks for reading!
So pretty! Thanks for the detailed methodology- I might just give this a shot sometime!