Jalie Nico Raglan Tops

Monday July 30, 2018

3 Nico raglan tops

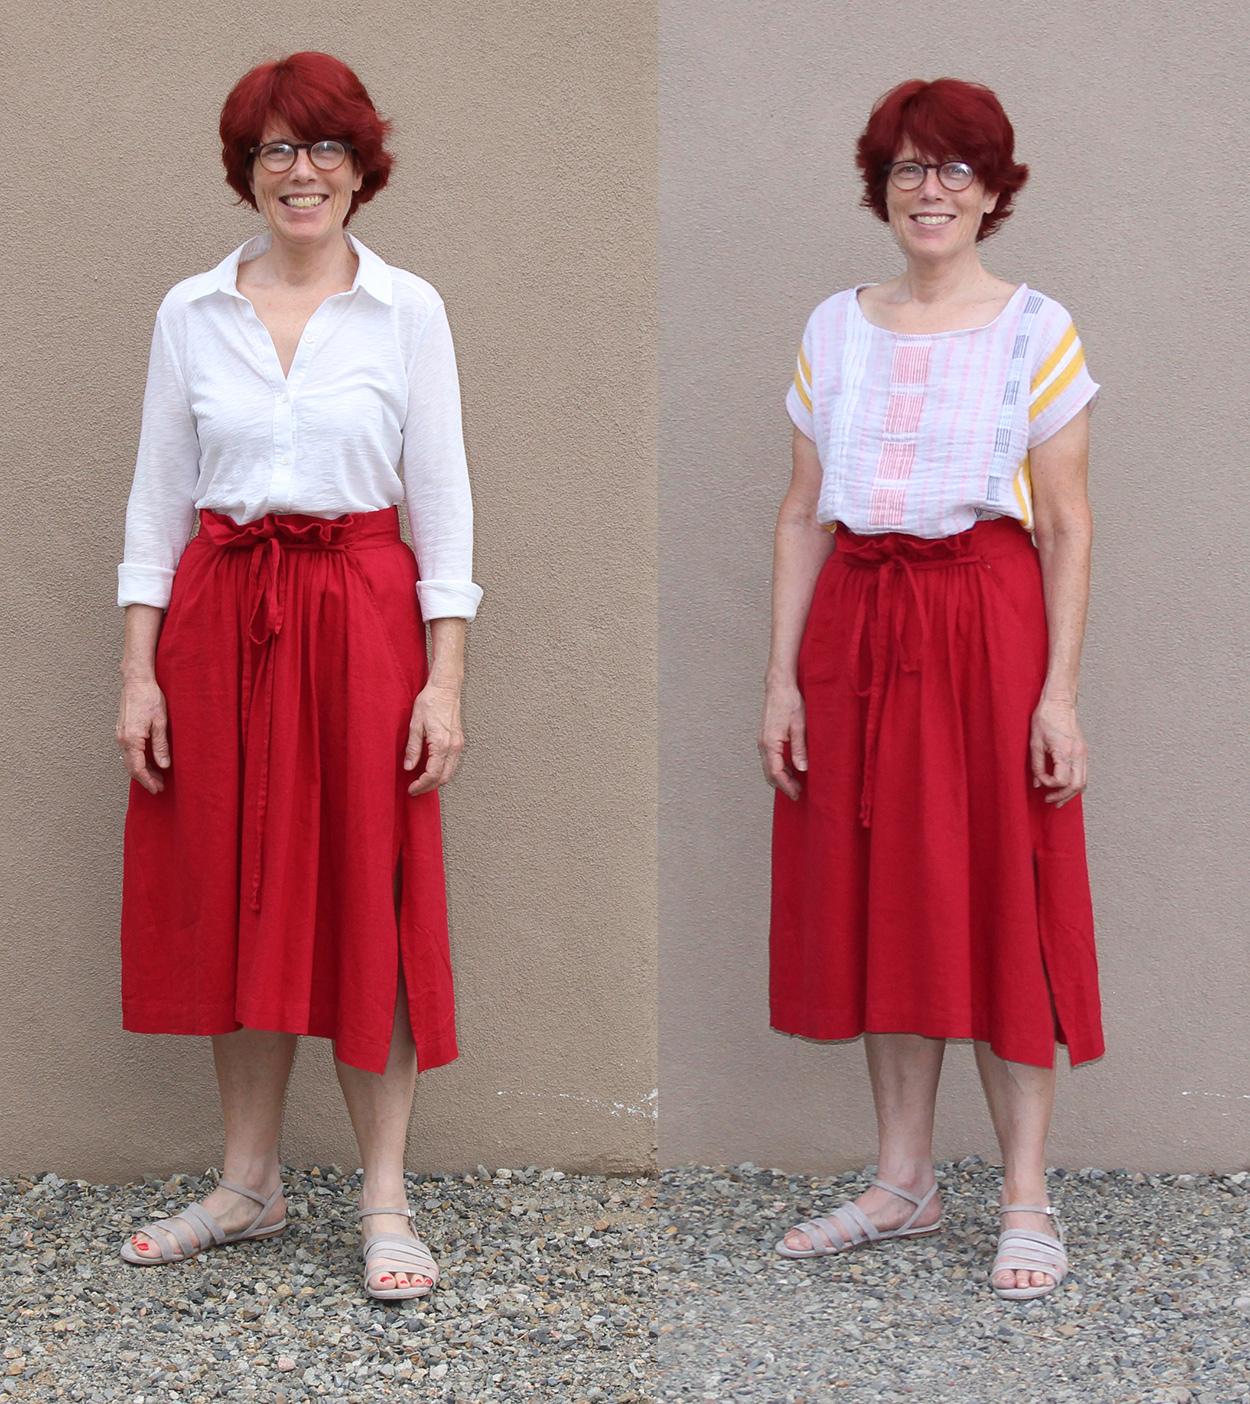
My husband has a much-loved merino under-layer he wears when he bikes in the winter. When I noticed Gorgeous Fabrics had some black merino jersey on sale, I snapped it up to make him a birthday present.

I thought a raglan top would be more interesting than a straight long-sleeve tee. Dawn, who blogs at Two On Two Off, has had a lot of luck with Jalie patterns, so I settled on Jalie’s Nico.

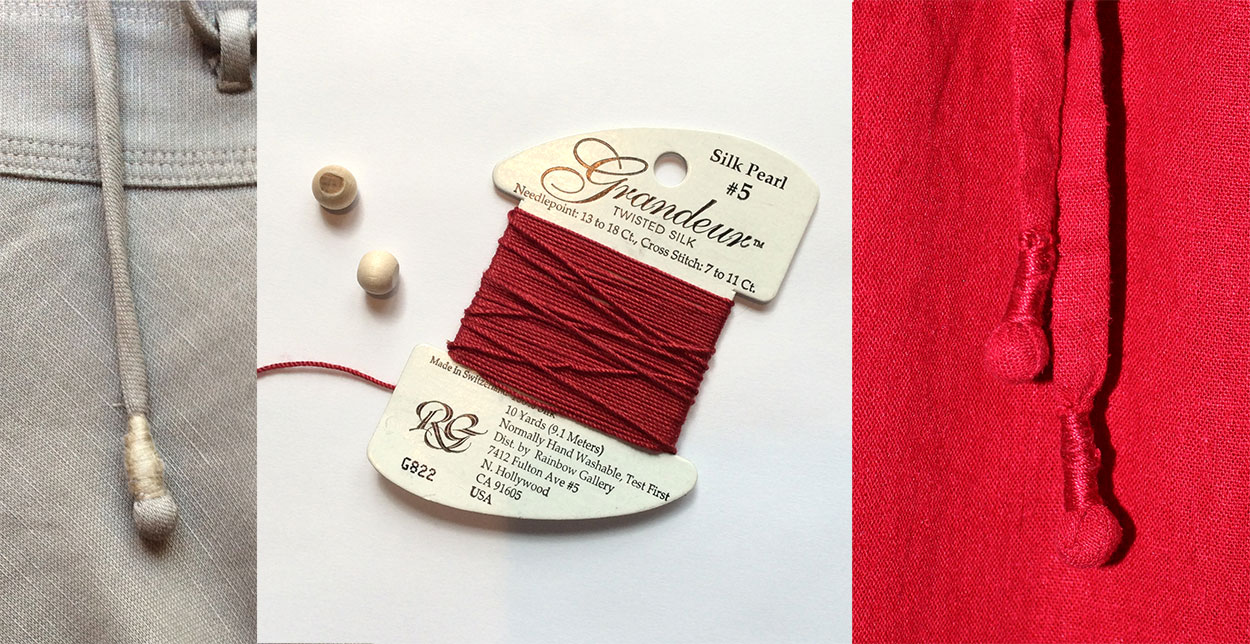
After some measuring, I decided to make a size V, basically a men’s medium, which is what my husband wears in ready-to-wear shirts. Right off I made 1 alteration to the pattern — the seam allowance is 1/4″ and I have a lot of trouble with my walking foot on my Janome catching such a small seam allowance. So I increased it to 3/8″. I had 2 left-overs in my stash — a black jersey and a bike print — so I used those to try out the pattern. In her Craftsy class Sewing With Knits, Meg McElwee recommends stabilizing the neckline, back shoulder seams, and using fusible tricot tape on the hem before sewing it. I used these 3 tapes from Emma Seabooke: fusible tricot for the hem, woven stay tape for the shoulders, and knit stay tape for the neckline.

Jalie in bike print jersey

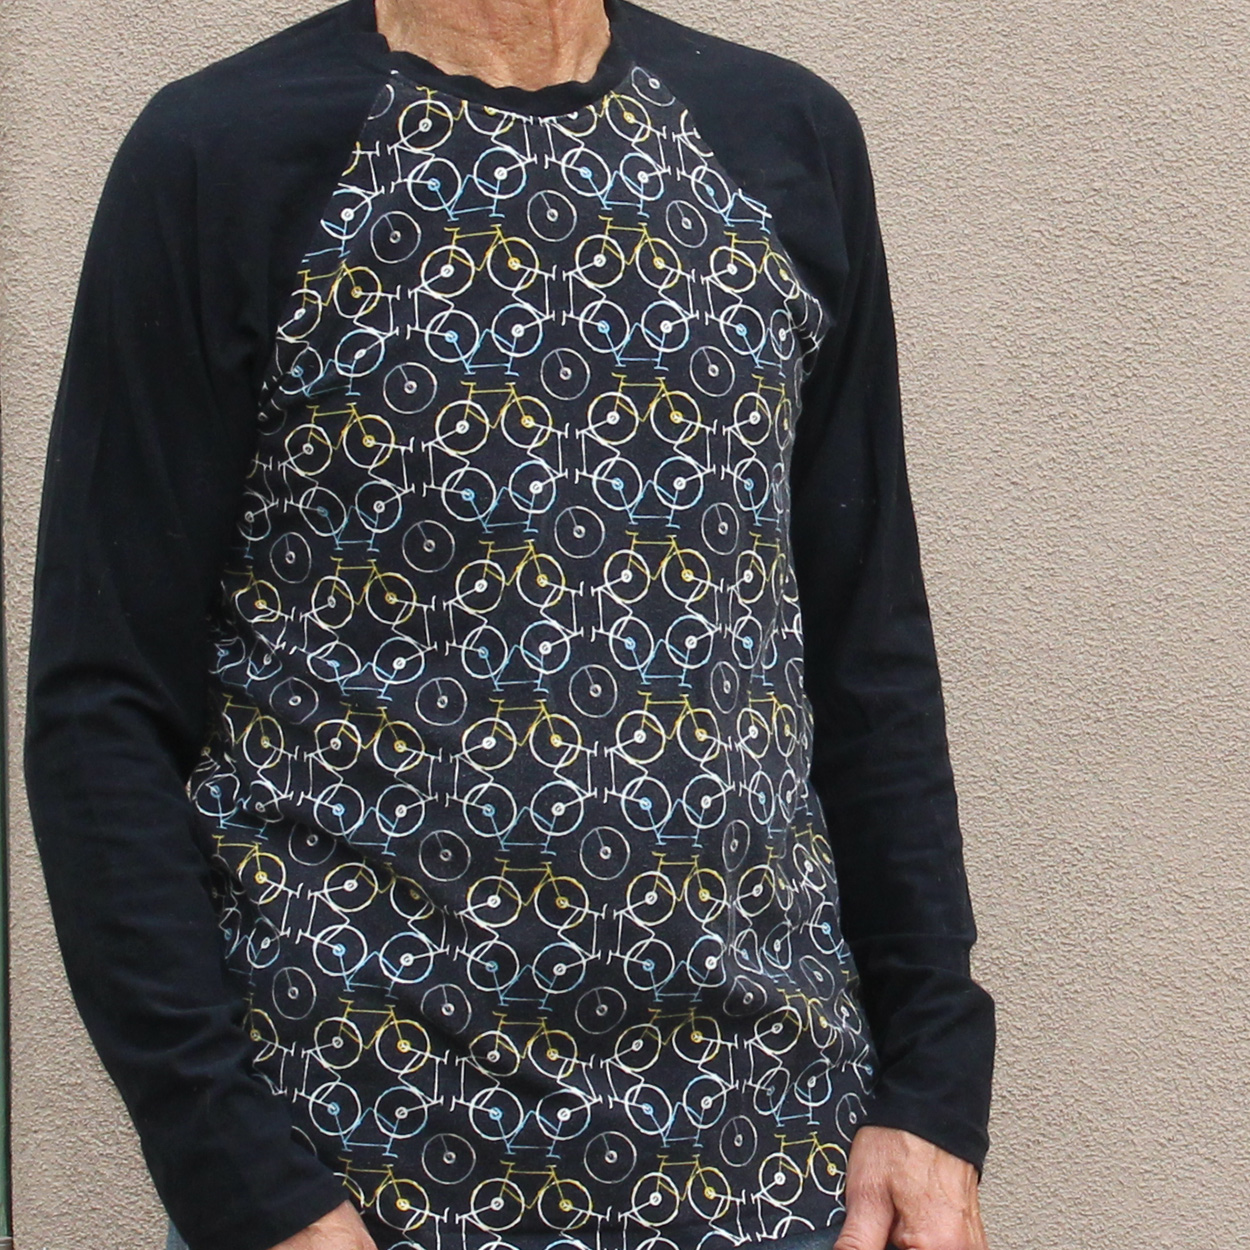
The arms and torso fit fine. But the neckband was too big for the drafted neckline, and the neckline was too small for my husband’s head (a bit of tugging required to get it on). I made this one up during the winter, and despite the neckline issue, he wore it as lounge-wear in the evenings until it got too hot to wear sleeves.

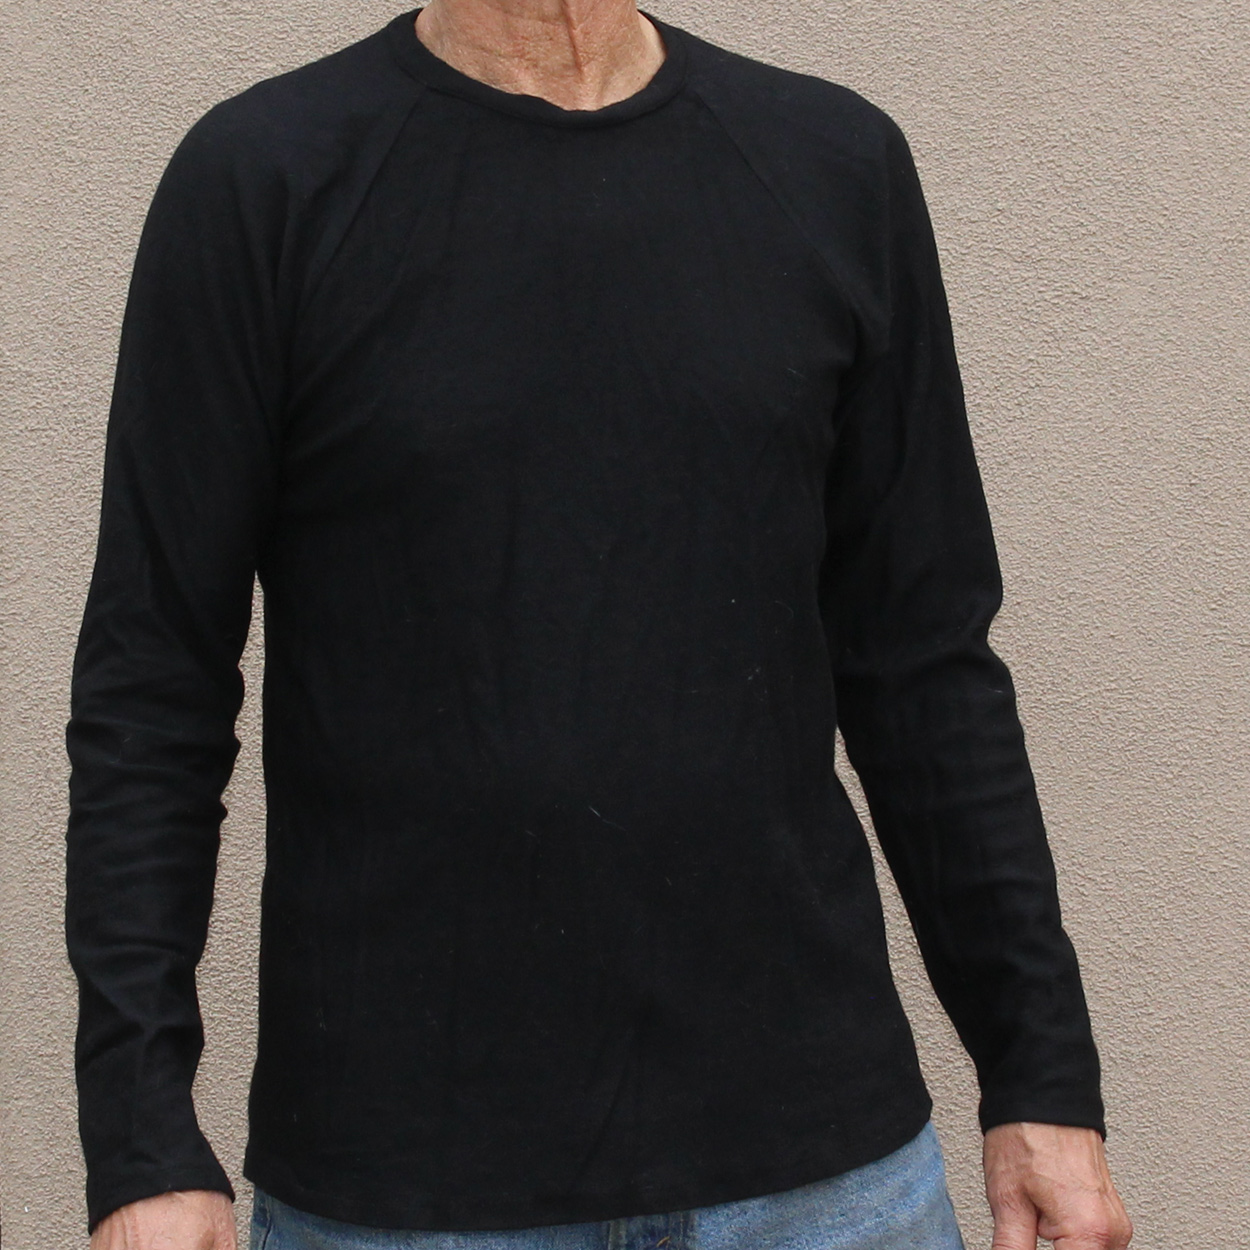
For my second attempt, I used the same Art Gallery black jersey for the sleeves as the first one and an Art Gallery grey jersey for the body (both from Hawthorne Threads). I took 1/8″ off the neckline and left the neckband the same. This was a much better fit about the neck. And the fabric is really soft and my husband has worn this one a lot. I also tried a twin needle on the hem for the first time. I was afraid I wouldn’t be able to get the needles threaded, but it wasn’t too hard when I used the head-mount magnifier that my husband bought me for just this problem!

Jalie in grey and black jersey

Now I was ready to make the merino version. It went together really quickly and I was excited to give it to my husband.

Merino jersey

Sadly, he finds the fabric really itchy, and by the time I had it finished, it was too warm to wear. So I’ll have to wait until winter to see if the itch goes away or he’ll have to wear a tee underneath. But the pattern is a winner, and I’ve got plans to make a few more.

Burda Style 05/2010 #122

Sunday July 15, 2018

I bought some Robert Kaufman Brussels Washer Linen in Brick Red from the Confident Stitch to make a wrap skirt and to compare the linen to what I’d gotten online at the Fabric Store and locally at Joann. But then I saw an Instagram post by @paperbagwaist. She posts RTW garments and suggestions for patterns so you could make them. Once I saw this RTW skirt, I knew that’s what my red fabric was destined to be.

It would be pretty straight-forward to copy. It’s rectangles sewn together with a casing and draw string, plus pockets and hem embellishments. But @paperbagwaist suggested this faux paper bag waist skirt, Burda Style 05/2010 #122. It’s described as “a unique take on the drawstring waistband that only cinches at the front.”

I’ve never made a Burda pattern. And it wasn’t quite the inspiration skirt. So I hemmed and hawed for a while about which one to make. The DIY pattern would be easier but the Burda pattern waist band seemed a better fit for someone hippy like me. Finally I decided to buy the pattern and see how hard it might be. The instructions are brief and on first reading kind of made sense. I printed and taped the pattern, and the instructions made more sense. But I was unsure about whether some of the pieces needed seam allowances.

PDF pattern to the rescue! I remembered that the first page of the pattern had a miniature image of the taped paper layout. I could use that to make a doll-sized mock-up of the skirt and figure out how it is constructed, answer my questions about seam allowance, and figure out a strategy for finishing the edges. I read the page into Photoshop and up-sized it to fit on a piece of 8-1/2×11 paper, added a 1/8″ seam allowance where I thought they were needed, and then made my doll sized skirt out of some fabric leftovers.

That was fun! And quite informative, since I had misunderstood what size to cut the waist-band and, yes, the pockets do need to have a seam allowance on one side. I also figured out how to fit the skirt, which included moving the zipper from the side to the back and cutting the back in 2 pieces rather than one.

The skirt has essentially 3 pieces. The front is attached to the hip facing (by the pockets) and then attached to the back piece. I cut the hip facing and back first and basted them together to make sure the skirt would fit. I wasn’t confident that I could make fitting changes on the side seams without having to alter the front piece. The fit is all determined by the waist band on the back & hip facing — the gather in the front is mostly decorative & can’t be cinched much once the skirt is assembled (enough for loosen it after too much supper!)

I ended up taking an inch off the center back seam and gathering the back more than the pattern called for.

The planning and fitting were time consuming, but after several long weekends, I had a skirt!

One last detail. I made the draw string much longer than the pattern called for, so I could tie it in front like my inspirational skirt. I have a RTW wrap skirt with a clever method for finishing off the ends of the drawstring. Below left is my RTW skirt. In the middle, from my crafting stash, I found several round wooden beads and some needlepoint thread that exactly matched my skirt color! I pushed a bead into the end of the drawstring about an inch, then folded the excess fabric over, wound my silk thread tightly upwards from the bead until I’d covered the folded fabric, and tied a knot. The result is on the right.

And here’s my skirt, worn with several different tops:


Worn with a RTW linen top.


Left: RTW top, Right: Me-made Maya Top from a second-hand dress